If you’re in a remote location or simply want speedy, reliable internet independent of traditional cable or fiber lines, Starlink may be for you. Developed by SpaceX, Starlink has a constellation of satellites in low Earth orbit (LEO) to provide fast internet anywhere in the world — including in rural and remote locations.
In these step-by-step instructions, we’ll guide you through the Starlink installation process to get you connected in no time.
Step 1: Buy Your Starlink Kit
Begin by going to the Starlink website and checking availability in your area. After being confirmed, place your order. The standard Starlink Kit includes:
Dish (also known as Dishy)
Mounting tripod
Wi-Fi router
Power cables and connectors
After ordering, your kit typically arrives within a few days to a couple of weeks, depending on demand and your location.
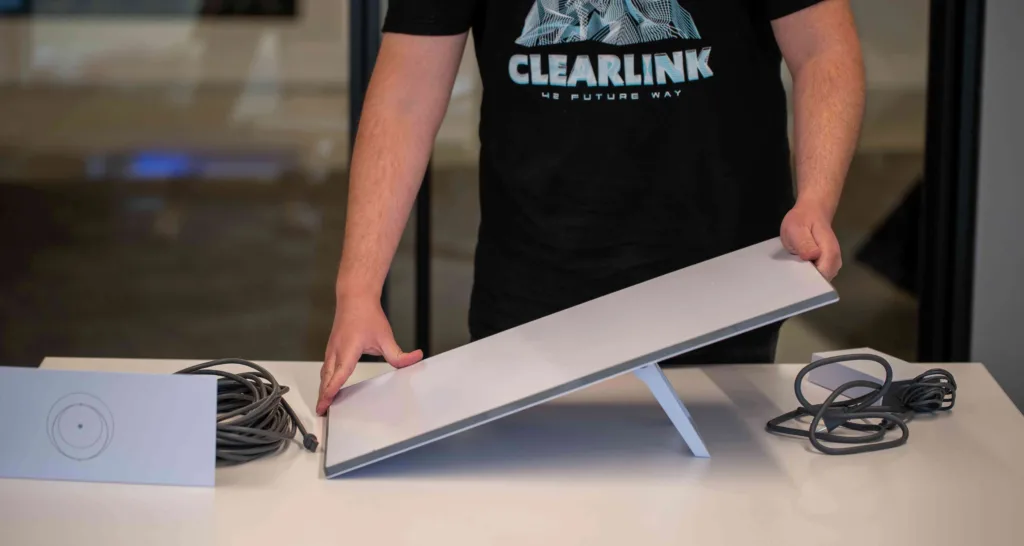
Step 2: Unbox and Inspect Your EquipmentOnce your kit arrives, unbox all the components and ensure nothing is damaged or missing. Your package should contain:
The satellite dish (Dishy)
Mounting base/tripod
A Wi-Fi router
A long cable (usually 75 feet) that connects Dishy to the router
Power cord
Make yourself familiar with the installation and read through the quick-start guide included in the package.
Step 3: Choose the Suitable Installation LocationOutdoor Installation of Dishy:
The most important requirement for Starlink to work effectively is an unobstructed line of sight towards the sky. Dishy uses motors to adjust for the best satellite signal automatically, but it requires an unobstructed line of sight to the sky — no buildings, trees, or big structures in the way.
Use the Starlink app (compatible with iOS and Android) to search around you and find the ideal location. The app shows the area where there could be possible obstructions and helps you find a clear space for the best performance.
Mounting Options:
The included tripod is fine for ground testing.
For permanent installation, install on your pole or roof using extra accessories available from the Starlink store.
Step 4: Plug in the Equipment
Here’s how to connect everything together:
Connect Cable to Dish: Plug long cable into bottom of Dishy.
Connect the Other End to the Router: Plug the other end of the cable into the port marked “Dishy” on the Starlink router.
Power Up the Router: Connect the router to an AC power source using the included power adapter. The router will start booting up when turned on, and Dishy will automatically begin to align itself in order to obtain satellites.
Wait several minutes — you may see Dishy rotate and tilt while looking for the optimum signal.
Step 5: Set Up Your Wi-Fi
Once the router is powered and Dishy has connected to the satellite network, it’s time to set up your Wi-Fi:
On your phone or computer, go to your Wi-Fi settings.
Look for the new Starlink network (e.g., “STARLINK-XXXX”).
Connect to it. You’ll be prompted to set a new Wi-Fi name (SSID) and password.
Save your settings and reconnect to the new network using your updated credentials.
Congratulations — you’re now online with Starlink!
Step 6: Test and Optimize
Test your internet speed with the Starlink app or a speed test utility (e.g., speedtest.net). You can expect:
Download speeds between 50 Mbps and 200+ Mbps (depending on your location and the time of day)
Latency ranging from 20 ms to 50 ms
No buffering on HD video streaming, online gaming, and video calls
If your speeds are less than what you expected, check for obstructions or try placing Dishy higher or in a less obstructed area.
Optional: Advanced Installation Tips
Permanent Mounting: To mount Dishy on a pole or roof, Starlink offers additional mounting hardware like pipe adapters and roof mounts.
Ethernet Adapter: The default router from Starlink does not have an Ethernet port. If you need wired internet, purchase the optional Ethernet adapter from Starlink.
Mesh Wi-Fi Installation: In larger houses, you can add to your network with Starlink-compatible mesh Wi-Fi systems.
Last Thoughts
Starlink installation is surprisingly simple, and you don’t need to be a tech genius to get started. With just a few pieces of kit and an unobstructed view of the sky, you’ll be enjoying high-speed internet — even in areas that were previously digital dead zones.
If you’re tired of slow DSL or unreliable cellular data, Starlink could be a game-changer for your home or business.